


Planning a Big Sur Elopement
Flights and Where to Stay
Planning a destination elopement is not always as simple as it may seem, for both photographers and couples. If you’re a photographer scrambling for permit information like I was, hopefully this can point you in the right direction. If you’re thinking of eloping in Big Sur, it really is as iconic as the photos. As a destination photographer, I have travel fees included in my packages which includes round trip flights, two-night stay near the location, rental car, gas, food, and the required permits for the park. This ensures that I arrive in enough time to scout and show up safely for my couple.
When flying into the Big Sur area, the closest airport is in Monterey, CA. This is roughly a 25-30 minute drive to the beginning of the park. Big Sur itself sits all along Highway 1, so you can also easily turn it into a road trip. My couple made the 13 hour drive out to Big Sur, definitely will save you on rental car and flight expenses! I flew into the San Francisco International airport and drove the 2 hour drive to Big Sur. The flights were a tad cheaper, and it was fun to explore the city on my own free time. Since I flew in in April, the flights were much cheaper than looking at the summer months. So, definitely pick whichever option suits your budget and needs.
I stayed in an air bnb in SeaSide, CA. This was ~10 minutes to Monterey and ~20 minutes to Carmel by the Sea. Each of these beach towns offered so many shops, restaurants, and places to see. SeaSide was by far the cheapest out of the other towns, but still was an easy drive to and from Highway 1 and Big Sur. I was able to drive back and forth to scout locations and not be too far away when the elopement was over. Pay attention to which neighborhoods you are in an do a little research before booking. For the most part, I never felt unsafe in any of the areas!
Permits
This is the biggest pain throughout the whole process (in any elopement really). Finding a person to contact was the most challenging, as websites for the state parks are unclear. My point of contact was through the California Film Commission and the California State Parks and Recreation. Through the CFC, I had to fill out an extensive and detailed description of specific locations, times, and dates we would be shooting at. *You CANNOT shoot in Big Sur itself during the weekends (Friday, Saturday, Sunday). I was able to get a permit for both my scouting day and my shoot date. I never was approached by park rangers or came through an entry gate where they asked to show my permit. However, I like to be better safe than sorry, especially when my couples come so far for their big day. Most of the permits are $100 PER PARK. If you’re wanting Garrapata, Big Sur, Pfeiffer, etc. each permit is $100. I even found out that some parks, beaches, and bridges are permits through entirely separate organizations. (Annoying, I know.) No one was checking for permits, we were there on a seemingly empty Thursday afternoon. However, I’d always recommend applying for one.
Where to Elope
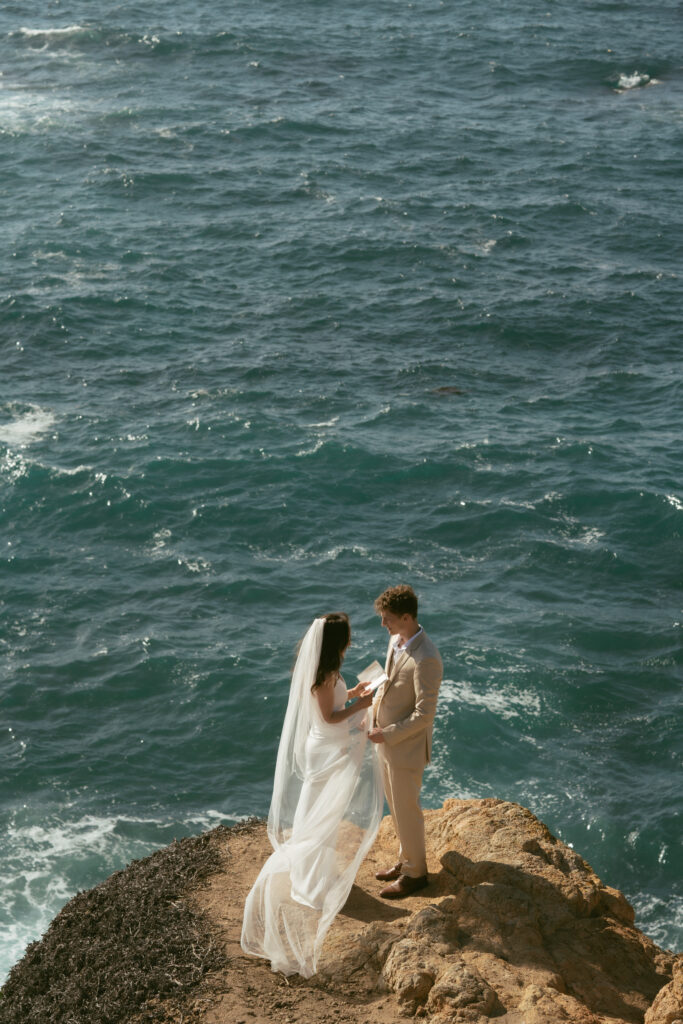
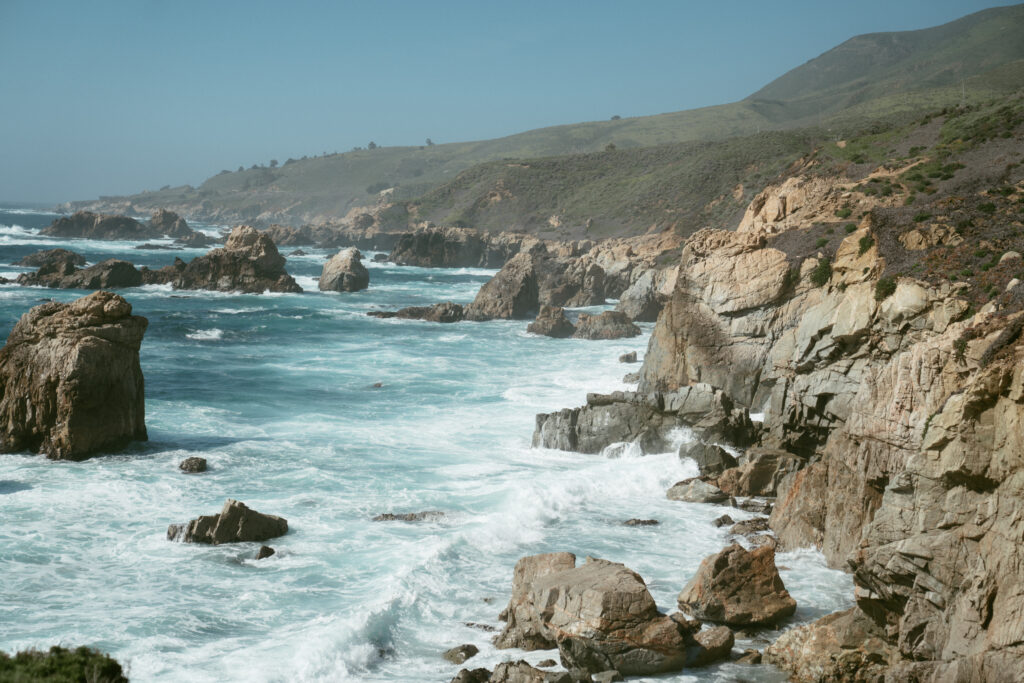
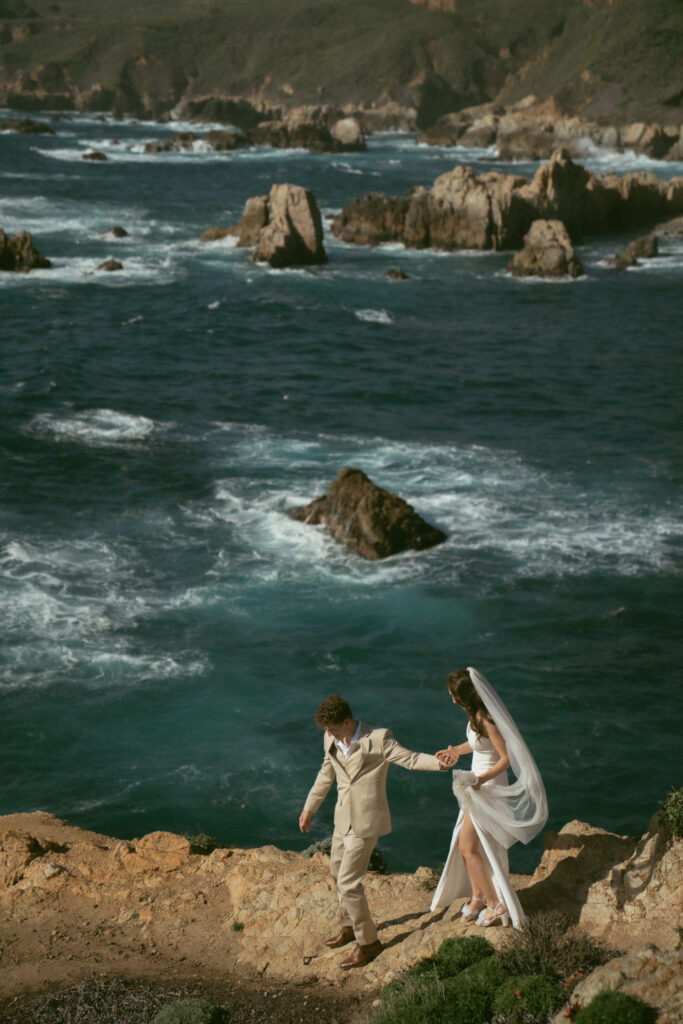
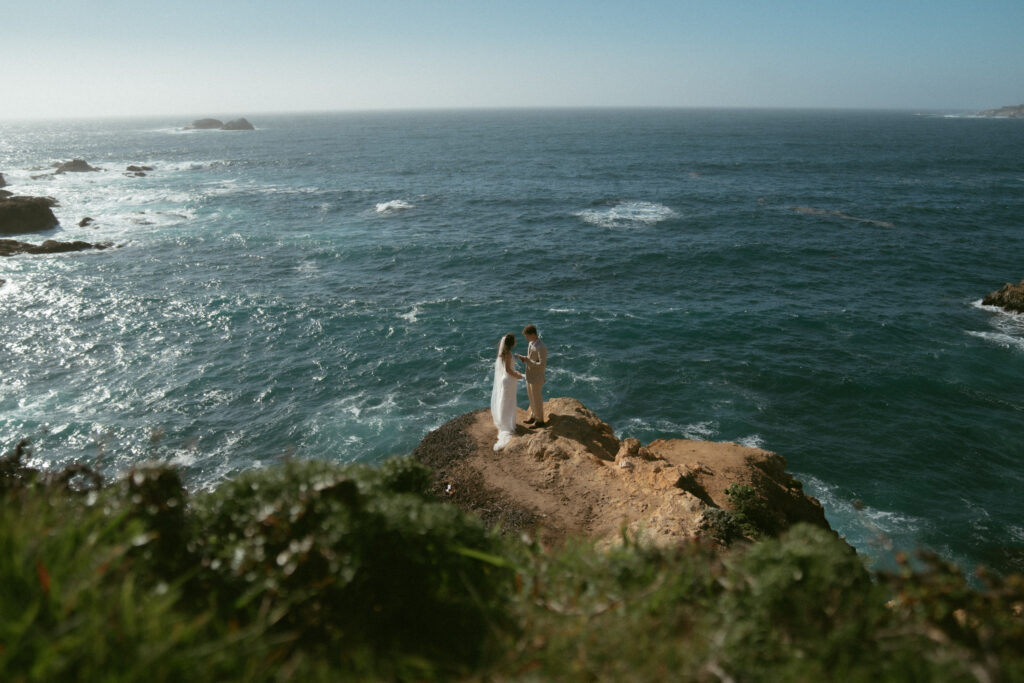
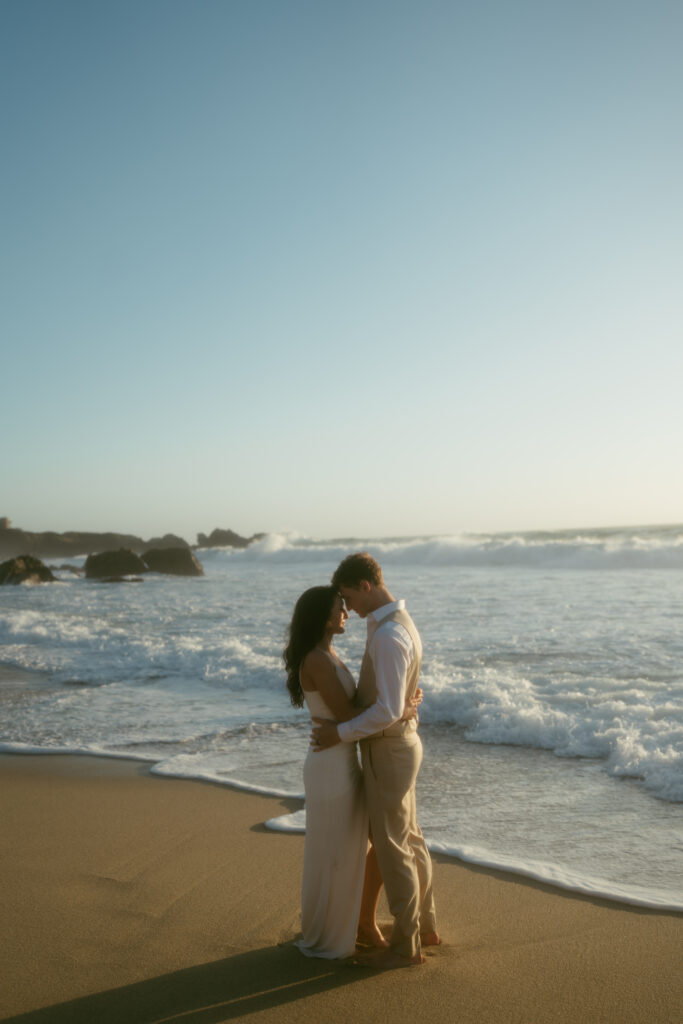
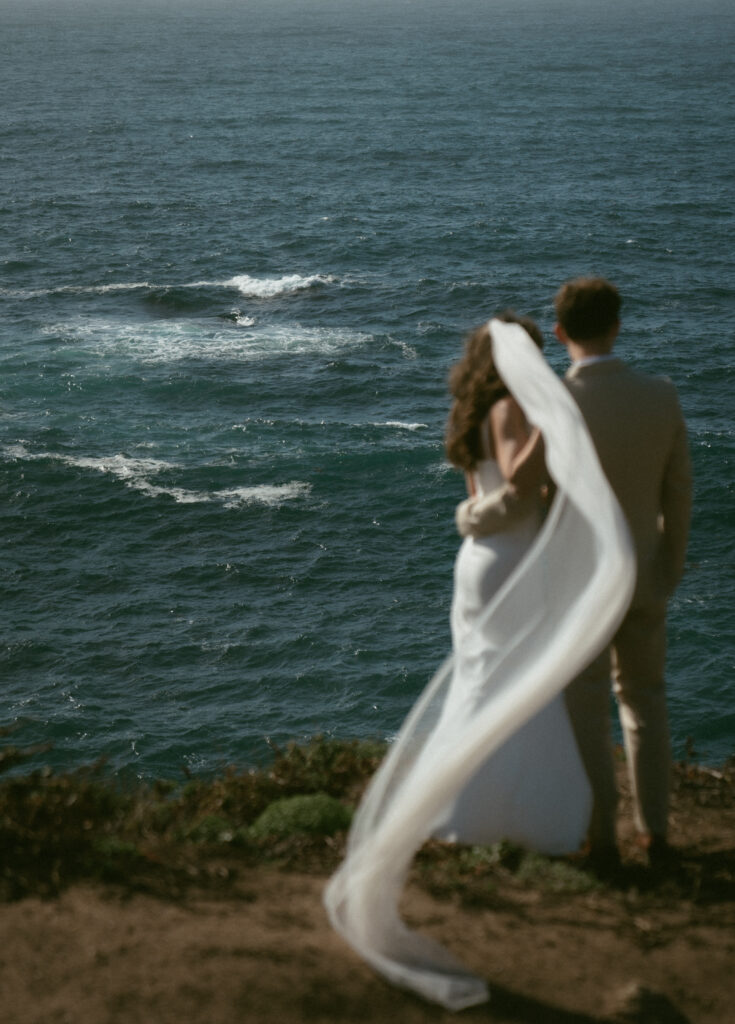
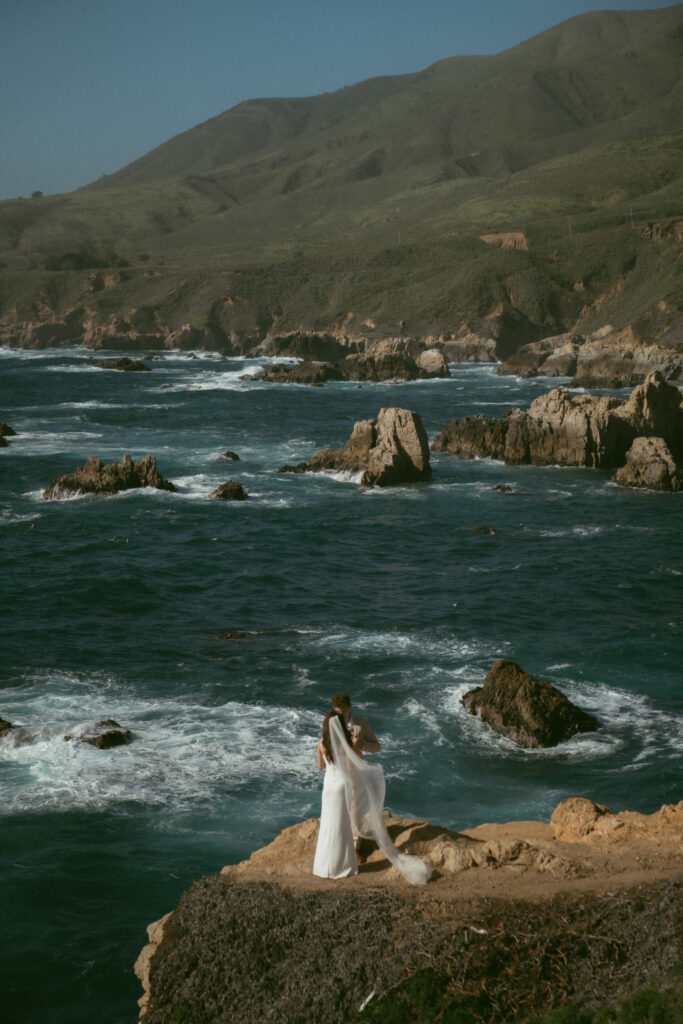
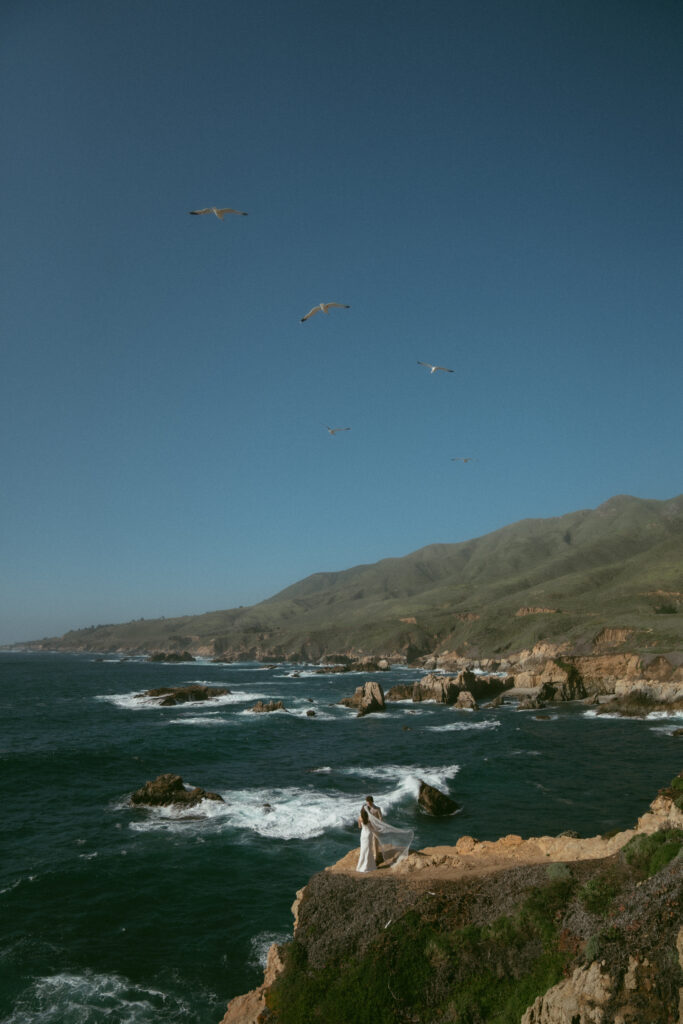
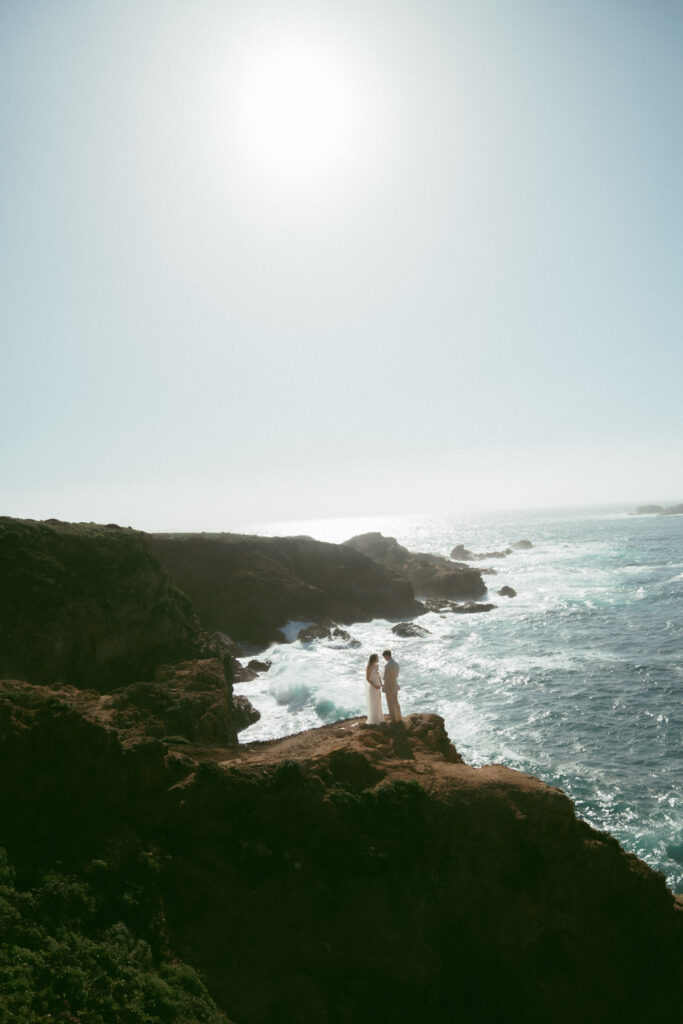
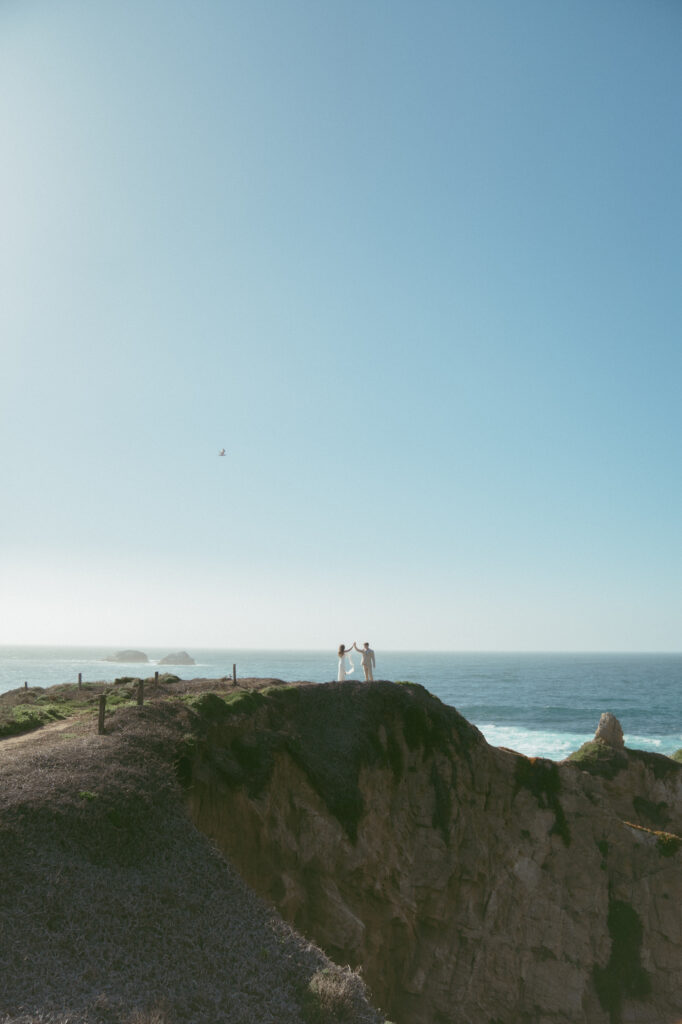
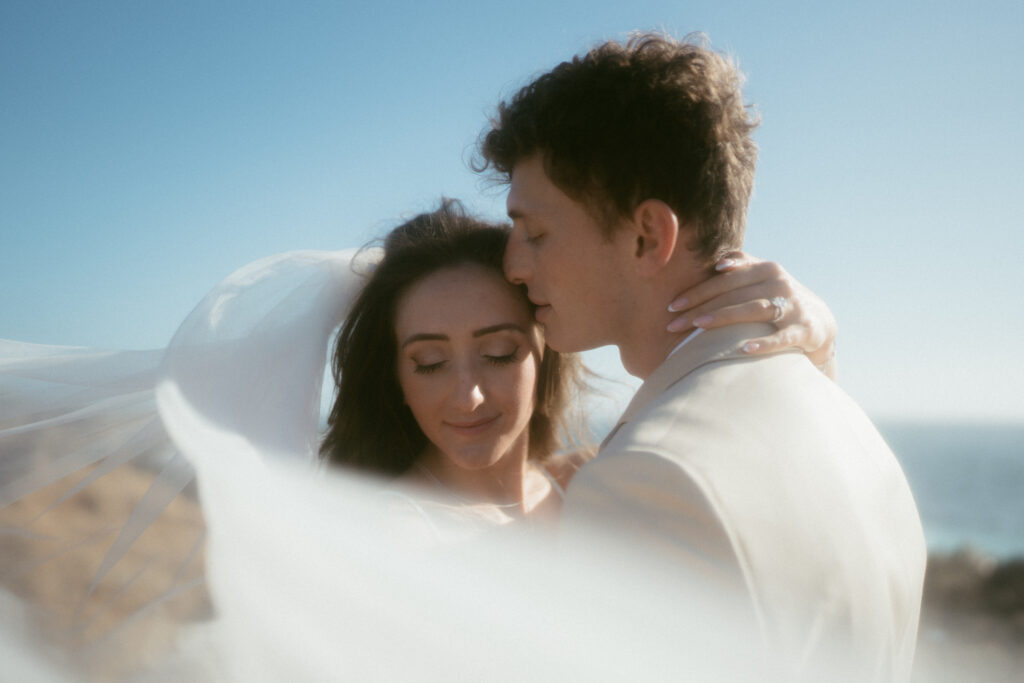
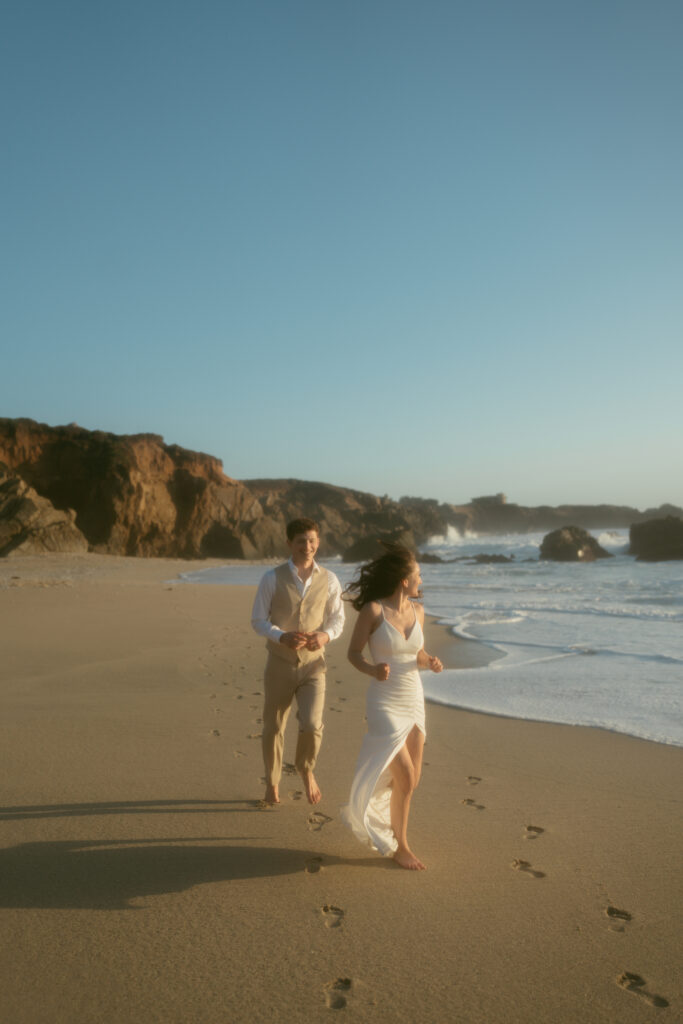
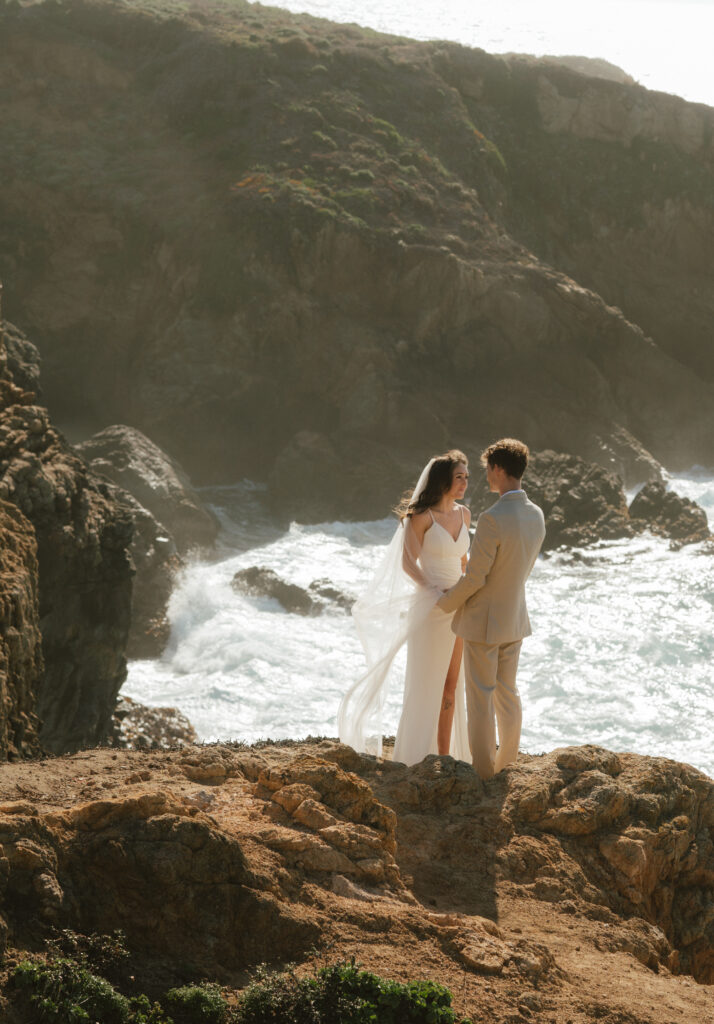
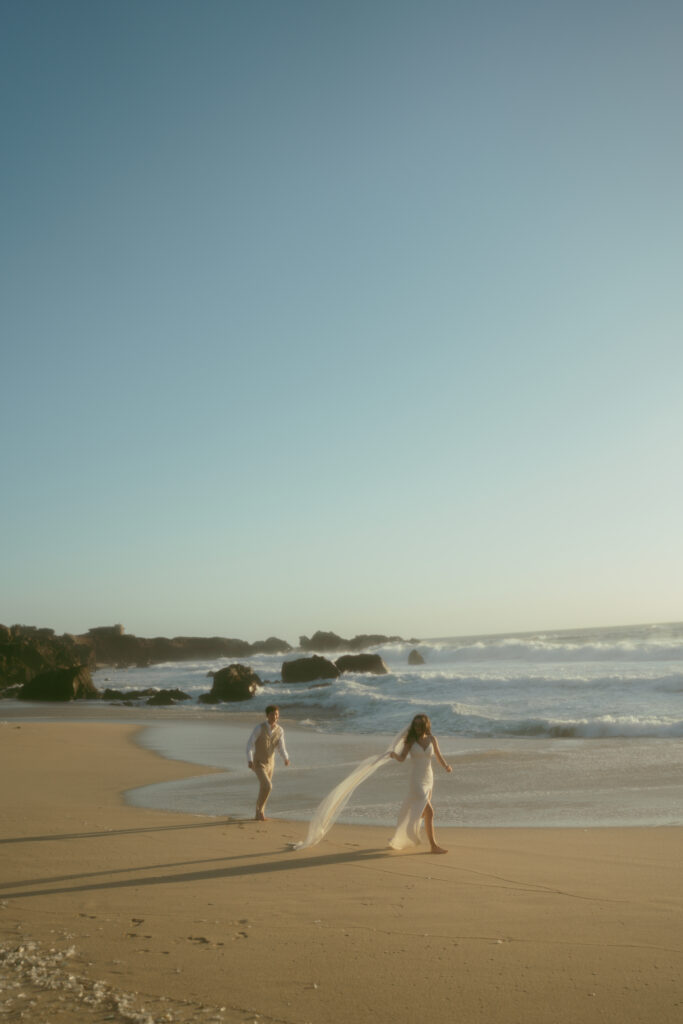
Big Sur and Garrapata are famous for their beautiful cliff sides and huge waves. Due to a storm that came the week before, we had to stay in Garrapata State Park. Which was a bummer to not see the big famous bridges, but we still got some incredible views. My couple decided to have their private vows in the afternoon and finish on a beach running into the waves. While scouting before, I found a pull off and found a smaller cliff side they could walk down. It gave views of the ocean and the green hills behind them. There are several spots like this all along the coast. I recommend getting there early to scout your favorite spots for vows and portraits! Big Sur offers access to the Redwoods as well. This gives couples a great option for both woods and beaches in their photos.
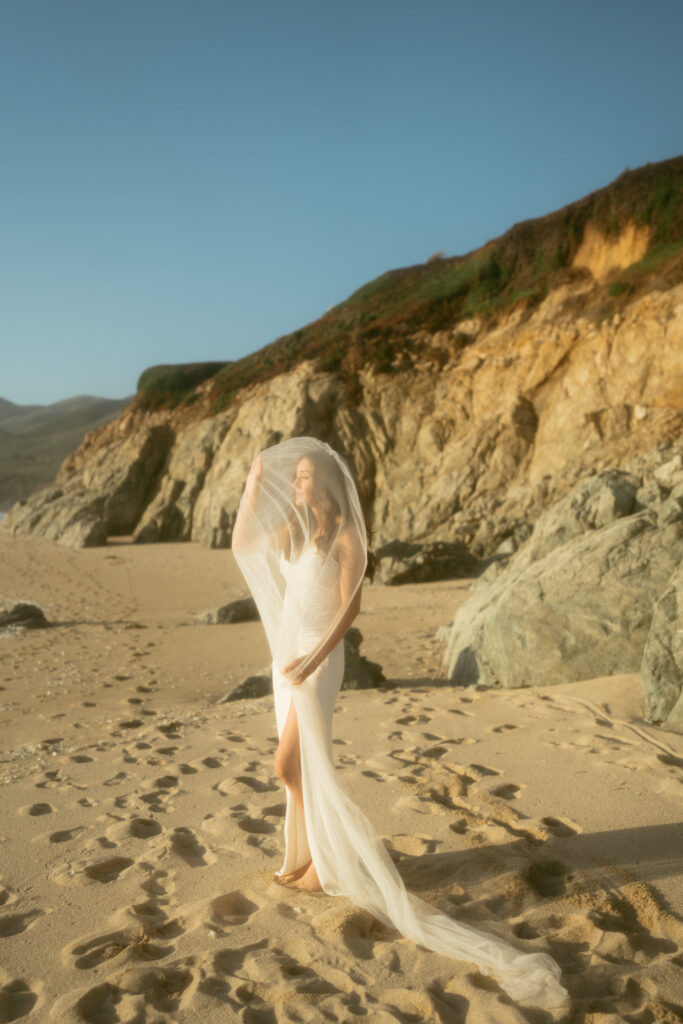
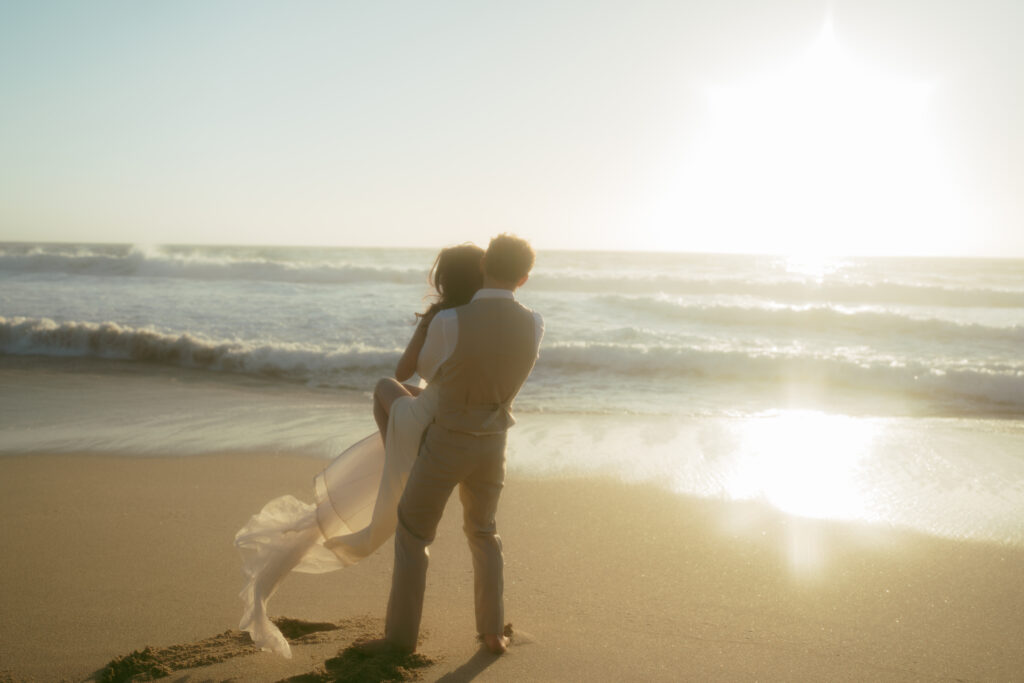
We finished on Calla Lily Trail and navigated the rocks over to Garrapata State Beach. These were the only porta potties close by, so if you’re having a longer elopement day and need a restroom it’s a good place to stop. Obviously, watch out for the tide and keep an eye on timing when on the beach. This was a perfect ending spot that was not crowded at all. We lucked out and got a stunning sunset to watch.

Tips and Takeaways
If you’re building a list of where you would like to go, I love Google Earth and Google Earth Pro. It gives you a better view of the landscape and even shows you what the spot looks like at different times of day. I also build a separate file in my Google Maps. I can add specific locations I’m going to and write little notes in each. You can share this file with your couples and families attending so everyone knows where to go! I personally build mine out in a timeline for my couples, but both work well to stay organized!!
There is spotty service!! Make sure to send a text to your couple before you enter the park! Choose a meeting space outside of the park, so that everyone is on the same page.
Follow the California State Parks page on Instagram or social medias so you can stay up to date on closures and weather. This was so helpful when they closed down most of the park, because of the road damage.


")


")

